
A particleboard wardrobe you build yourself — drawing, cutting, assembly
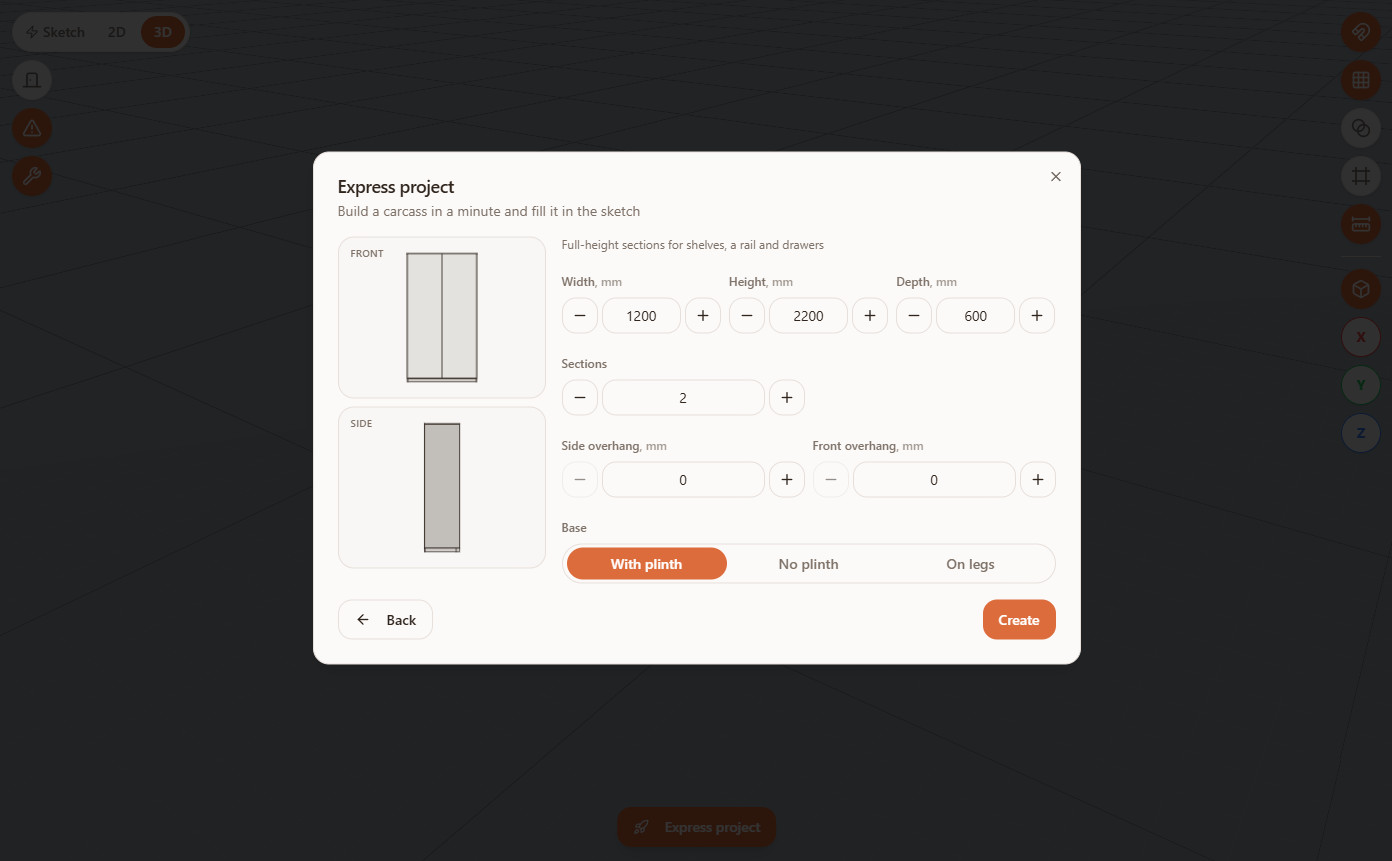
A wardrobe carcass is seven types of part and one piece of arithmetic you have to get right once. We work it through on a real size, look at what the drawing must show, and assemble it in order.
People build their own wardrobe for one reason: the one that fits is not sold. An alcove 1200 mm wide, 2200 to the ceiling, deep enough for hangers — and the choice is between cutting down a standard unit and building your own.
Building your own is easier than it sounds: the workshop cuts and bands, and your job is to get the parts right and not mix up what goes where. The full route from survey to assembly is in the piece on building furniture yourself — here it is just the wardrobe, with numbers.
The drawing starts with the survey
Measure the opening at three heights and three widths, take the smallest values and subtract an installation clearance. Walls are rarely parallel: a carcass built to the top measurement will not go in, one built to the bottom leaves a gap.
The drawing has to carry: the overall carcass size, the board thickness, every part with its dimensions and quantity, the banding marks per edge and the drilling coordinates. Everything else is commentary the workshop can do without.
How the parts are worked out
Take a carcass of 1200 × 2200 × 600 mm in 16 mm board, with a divider in the middle. The scheme is the usual one: side panels run the full height, the bottom and top sit between them.
- Side panels — 2 off, 2200 × 600. Full height; the carcass hangs on them.
- Bottom and top — 2 off, 1168 × 600. Overall width minus two side panels: 1200 − 16 − 16 = 1168.
- Divider — 1 off, 2168 × 600. Height minus bottom and top: 2200 − 16 − 16 = 2168.
- Shelves — 576 × 580. The bay is (1168 − 16) ÷ 2 = 576. Shelves are made shallower than the carcass so they do not foul the back panel.
- Back panel — 1 off. Hardboard or thin MDF, to the carcass size if it is an overlay panel.
- Fronts. Worked out from the opening with clearances all round; how big those are depends on the hinges you buy.
The thing to remember in all this is that the internal size is two board thicknesses less than the overall one. And that a shelf cut to the exact internal size will not go in: a couple of millimetres of clearance is mandatory.
Cutting and edge banding
The finished part list is laid out across sheets with the kerf and the edge margin taken into account. Out comes the cutting map and the number of sheets to buy. If offcuts are left from earlier projects, enter them: the algorithm consumes them before reaching for a new sheet.
Banding goes on the edges you can see. On a wardrobe those are the front edges of the side panels, the divider, the bottom and the top, the front edge of every shelf, and the whole perimeter of the fronts. Thick banding there; the back and internal edges take the thin type or none at all — nobody sees them, and the difference in metres is noticeable.
The length per banding type is summed for you. How the cutting calculation itself works is covered separately, and what a map must show is in the cutting map article.
Drilling for the hardware
A wardrobe carcass is held together by confirmats — two or three per joint where a side panel meets the bottom, the top or the divider. Shelves sit on supports, usually drilled in rows so a shelf can be moved later. Fronts need a Ø35 cup in the face of the door for the hinge.
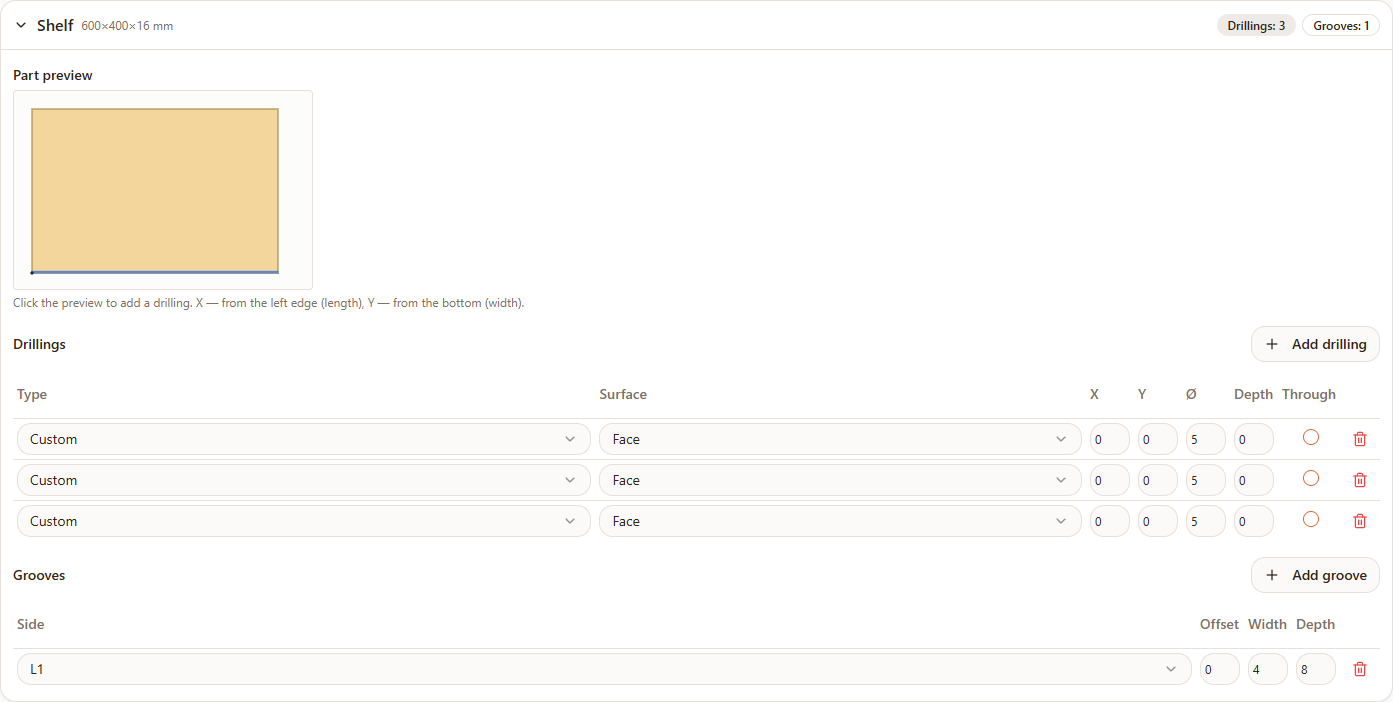
The drilling types a wardrobe needs: confirmat into the face and into the edge, shelf support, hinge cup. Minifix and rafix come in if you assemble on cam fittings instead of confirmats, with nothing visible from outside. A depth greater than the part thickness cannot be set — it is trimmed automatically.
Assembly order
Side panels, bottom, top — on confirmats. Assemble it lying on the floor; holding the angle is easier that way.
Goes in between bottom and top. After it the carcass stops folding into a parallelogram.
Fixed all round, it squares the carcass up. It cannot be left for later — without it the geometry drifts.
The wardrobe goes into place and the adjustable legs bring it level. Only then do you check the gaps.
Shelves onto their supports, the rail onto its brackets, drawers onto runners. Fronts last — they are adjusted on the hinges in place.
Four mistakes that show up at assembly
- A shelf with no clearance. Cut to the exact internal size, it will not go in. Allow a couple of millimetres.
- Banding not subtracted. The parts arrive correct and the carcass assembles under tension — the banding thickness was never accounted for.
- Back panel fitted last. By then the carcass is already out of square and the front gaps will not line up.
- Front clearances guessed. They depend on the hinges: overlay, half-overlay and inset all give a different offset from the edge.
Build the carcass to your own size — parts, banding and drillings are counted for you.
Open the wardrobe designerIf starting from scratch is not appealing, look at the ready projects — the sizes are already worked out, and you only adjust them to your alcove.
Frequently asked questions
How many parts are in an ordinary wardrobe?
A carcass with a divider and a couple of shelves comes to about ten pieces: two sides, bottom, top, divider, shelves, back panel and fronts. More bays and drawers make the list longer, but the seven types stay the same.
Do I need a drawing if the workshop does the cutting?
The workshop needs a part list with sizes, a banding plan and drilling coordinates rather than a picture. The drawing is for you — so you do not mix up which part goes where, especially when parts of the same size differ only in their banding.
Can I fit a wardrobe into an alcove with uneven walls?
Yes, but the carcass is made narrower than the opening and the gap is covered with a scribe or filler strip. Trying to match the carcass to a crooked wall exactly is how you end up with something that will not go in at all.
Confirmats or cam fittings?
Confirmats are simpler and stronger, but the head shows on the outside and is covered with a cap. Minifix and rafix are invisible, at the price of precise drilling — a coordinate error cannot be fixed afterwards. For a first wardrobe, confirmats are easier.
How deep should a wardrobe be for clothes?
It depends on how the clothes hang: hangers across the bay need more depth, a rail along the wall needs less. Checking how the hangers sit is easier straight in 3D than trying to recall a standard figure.
How much banding should I order?
Exactly what the project works out: the length is summed per type, with quantities included. A couple of spare metres for trimming is sensible, twice the amount is not — banding is sold by the metre.
Building a wardrobe yourself is not about joinery skill. It is about being careful in two places: the survey and subtracting the thicknesses. The rest is calculated for you, cut in the workshop, and assembled with a screwdriver in an evening.