
Walk-in closet designer — plan the storage to your own dimensions
A walk-in closet is open bays without fronts: hanging rails, shelves and drawer blocks along the walls. Lay out the interior to suit your room or alcove, and the designer counts the parts, edge banding and fittings and hands the project over to cutting.
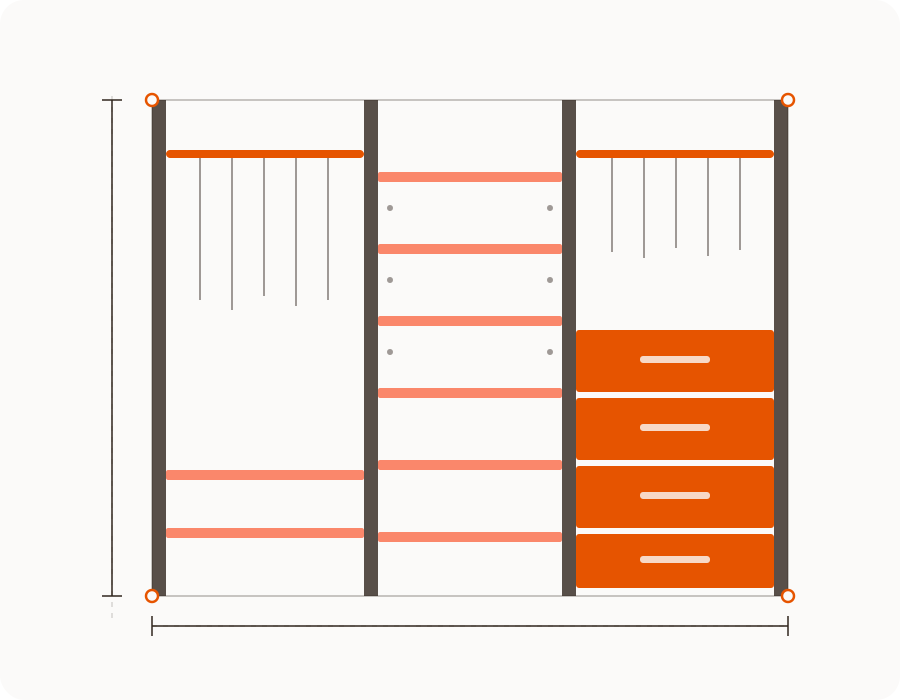
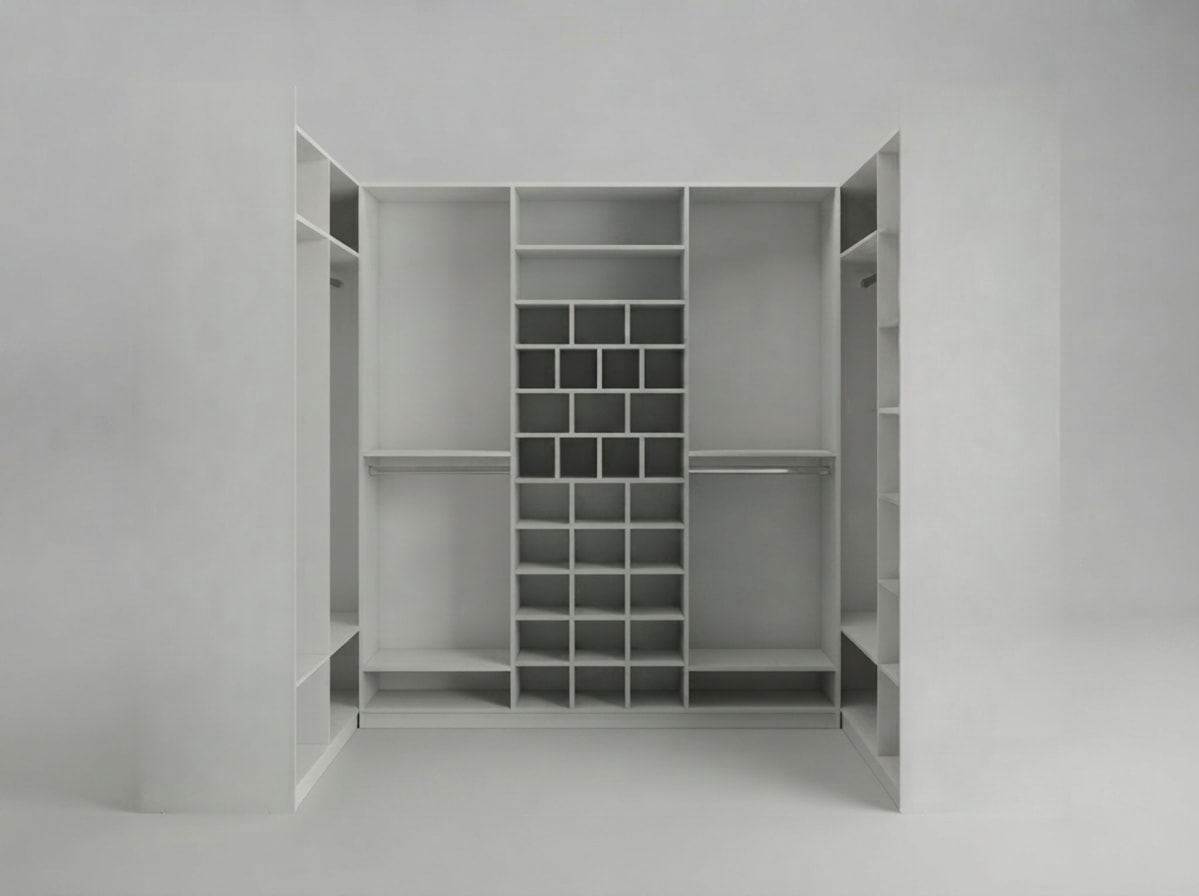
Open bays instead of a closed carcass
The easiest start is the shelving template: full-depth uprights with shelves and no back panel — precisely what separates a walk-in closet from a wardrobe. There can be one to six uprights and up to eight shelves in each. The base switches between a plinth, legs, or nothing at all if the system is wall-mounted.
If the room is awkward — a sloped ceiling, a projection, a ventilation duct — use the «own carcass» mode: set the overall size, the base and the top, and build the rest in the sketch.
Rails, shelves and drawers
The hardware library holds a round hanging rail with brackets, shelf supports, drawer runners and adjustable legs. Drawers can be overlay or inset, and shelves move up and down. Everything you place ends up in the project schedule with quantities and lengths — that is what you order the hardware from.
The layout can be mixed, too: leave some bays open and close others with fronts or sliding doors.
To the size of your room
Each bay is dimensioned in millimetres: width and height from 200 to 3000 mm, depth from 100 to 1200. Carcass and front materials are set separately — board type, thickness and colour. For a walk-through closet the bays run along two or three walls, and every upright is described with its own dimensions.
A walk-in closet you can build yourself
Without fronts a closet is noticeably simpler to make than a wardrobe: fewer parts, no door clearances to fit, and almost all the edge banding sits on the visible edges of shelves and uprights. No separate software is needed — the designer runs in the browser, and what comes out is a schedule and a cutting map you can take to the workshop.
Frequently asked questions
How do I plan a walk-in closet myself?
Measure the room, mark where the uprights go, and decide what each bay holds: a long rail for coats, a short one for shirts with shelves below, or a block of drawers. Then build the bays in the designer and adjust the widths — no carcass has to be drawn by hand.
How deep does a walk-in closet need to be?
It depends on how the clothes hang. Hangers across the bay need more depth; a rail running along the wall needs less. The designer imposes no fixed figure — depth is set from 100 to 1200 mm, and checking how the hangers sit is easiest straight in 3D.
Can I plan it for free?
Yes. Building the bays, calculating parts, edge banding and fittings, and basic cutting with PDF and Excel export are all on the free plan. The Optimal cutting mode, DXF export and label printing belong to Pro.
How does it differ from a wardrobe in the project?
By the absence of fronts and a back panel: the bays are open, so there are fewer parts and the banding runs along visible edges. Rigidity matters more in exchange — the uprights carry the shelves, so do not stretch their spacing.
What about a corner closet or one built into an alcove?
Every bay is described separately, so a corner is assembled from two bays of different depth, while an alcove, a slope or a duct is handled by the «own carcass» mode with manual dimensions.
Will I get drawings and a cutting plan?
Yes. The schedule lists parts with dimensions, edge-banding length and the fittings — rails, brackets, shelf supports and runners. Cutting produces a map for every sheet with the drillings marked, exported to PDF, Excel and DXF.
Build your walk-in closet
Uprights, rails, shelves and drawers — sized to your room.
From the first bay to the cutting map in one project.