
Camera and views
How to orbit and zoom the scene, snap to an axis view, change the model's display mode, and work in the 2D planar drafting mode.
What this is for
This isn't a separate page — it's the set of controls around the designer's 3D scene: camera orbit and zoom, axis view buttons, display toggles (facades, fasteners, transparency, outline, dimensions), and a separate planar (2D) mode — a drafting view of the same project.
When to use it
- To inspect the model from every side and check its proportions.
- To look inside a cabinet without removing facades or taking the assembly apart.
- To see exact dimensions for a part or the whole structure without clicking each part.
- To draw or fix a part on a flat drawing — faster than eyeballing it in 3D.
Where it is
The 3D designer screen → buttons around the work area
How to use it
- Orbit — hold the left mouse button on an empty part of the scene and drag.
- Zoom — mouse wheel (or pinch with two fingers on a touchscreen).
- Pan — hold the right mouse button (or drag with two fingers) and move.
The camera snaps exactly to that axis, with no perspective distortion to judge by eye.
The view flips to the opposite side of the same axis.
The camera returns to the free 3D view.
- Hide facades — removes doors and facades so you can see shelves and other internal parts.
- Show/hide fasteners — shows or hides fastener markers on parts.
- Magnet — parts snap to each other's faces and won't overlap while you move them.
- Floor — shows the floor plane; parts can't be dragged below it.
- Transparency and Outline mode — two ways to see inside the model without removing a single part.
- Dimensions — shows every part's size and the structure's overall dimensions at once, without selecting each part in turn.
The scene switches to a flat drafting view with no perspective.
Handy, for example, for adding a part on the side — switch to "Side" and draw right there.
A new panel part of that size appears on the drawing.
Fits the whole drawing on screen and centers it.
Everything you changed in planar mode is immediately visible in the 3D scene too.
Interface overview
The left-hand column of buttons sits at the left edge of the work area, above the "Library" tab.

- 1"Planar mode (2D)" — switches the whole scene to a drafting view; the button then reads "Back to 3D".
- 2"Hide/show facades" — removes doors and facades so you can see what's inside.
- 3"Show/hide fasteners" — on by default; shows fastener markers on parts.
The right-hand column sits at the right edge of the work area, above the X/Y/Z view buttons.

- 1"Magnet" — on by default; snaps faces within 50 mm and prevents parts from overlapping.
- 2"Floor" — on by default; shows the floor plane, below which a part can't be dragged.
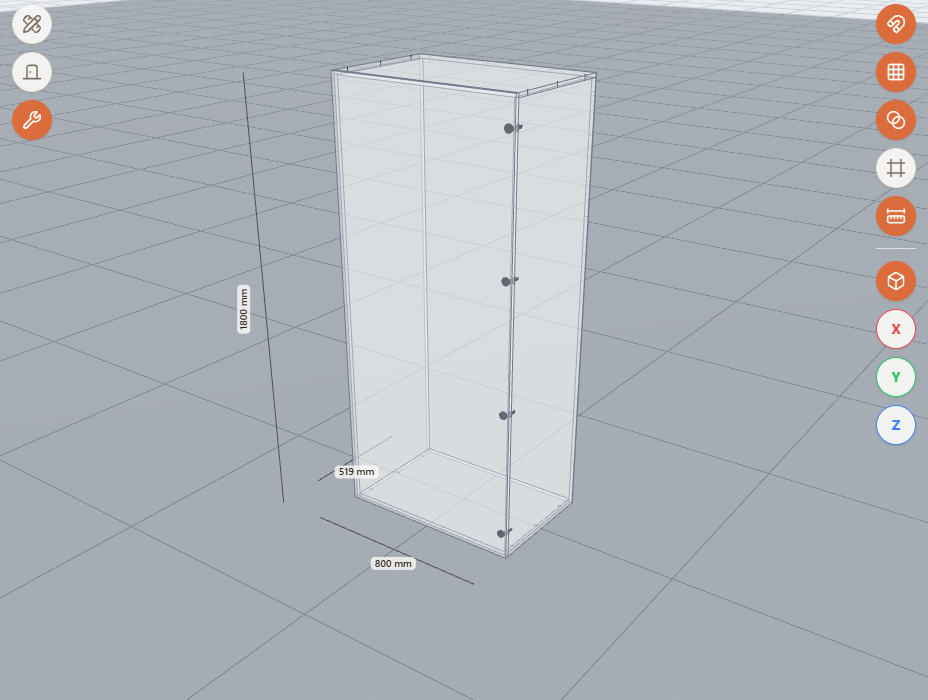
- 3"Transparency" — off by default; makes parts semi-transparent.
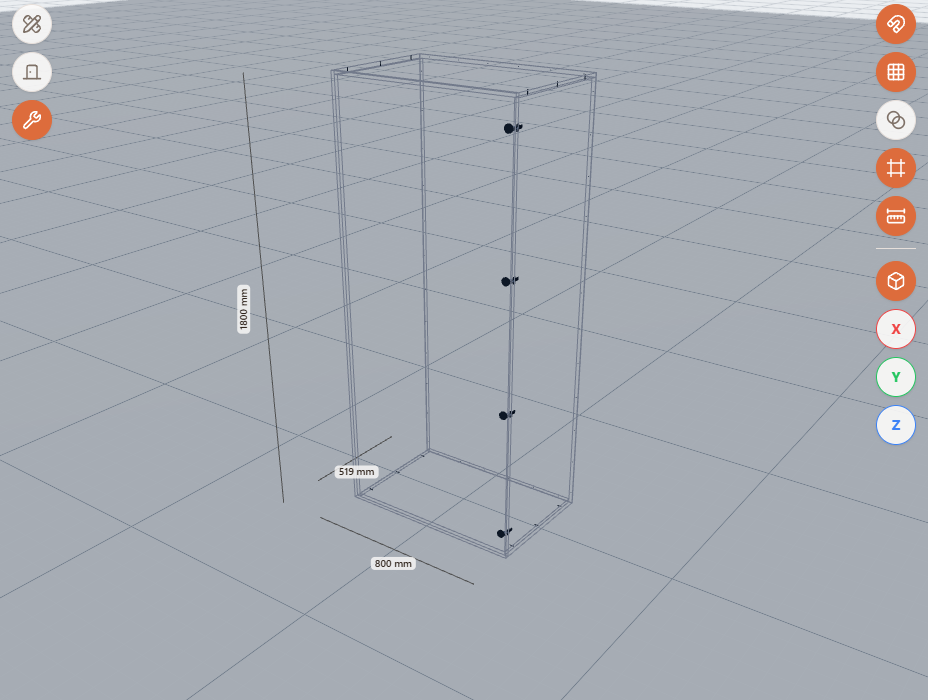
- 4"Outline mode" — off by default; edges only, no fill.
- 5"Show/hide dimensions" — on by default; part sizes and the structure's overall dimensions.
- 6"3D view" — the free 3D view, active by default.
- 7"X" — a view strictly along the X axis; click again for the other side.
- 8"Y" — a view strictly along the Y axis (from above); click again for the other side.
- 9"Z" — a view strictly along the Z axis; click again for the other side.
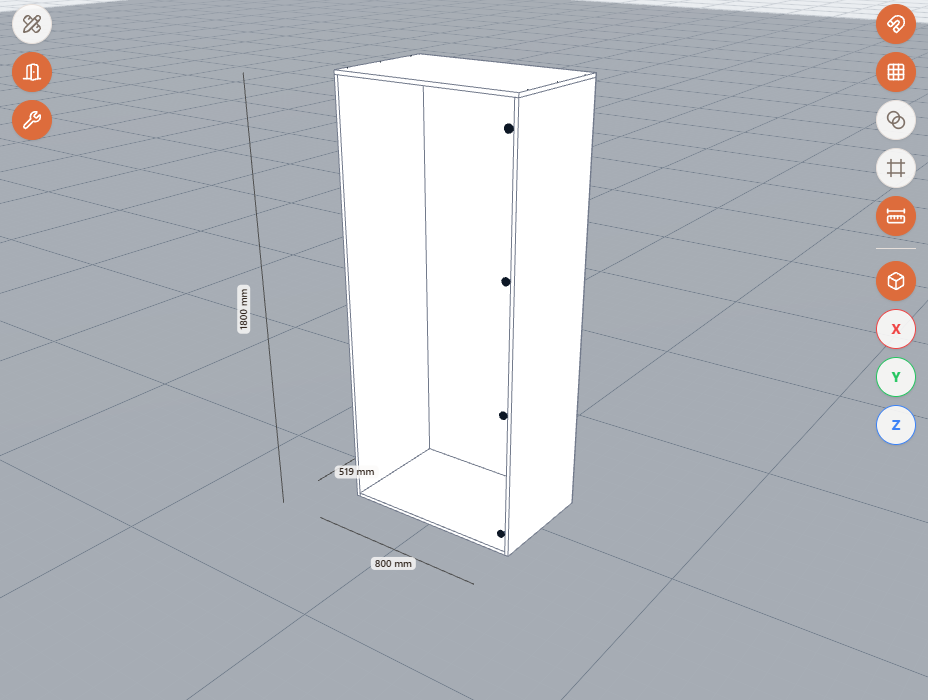
This is what hiding facades looks like — internal shelves and hinge markers become visible without taking the assembly apart.
Transparency — parts turn semi-transparent but stay right where they are.
Outline mode — edges only, no fill; useful for seeing through a dense assembly.
Planar (2D) mode
The planar mode's toolbar sits above the drawing, left to right.

| Button | What it does |
|---|---|
| Room outline | Shows the room's boundary as a dashed line — see whether the structure fits. |
| "Front" / "Side" / "Plan" / "Back" | Switch the drawing to a front, side, top or back view. |
| "Select" | Select and move parts that already exist on the drawing. |
| "Draw part" | Drag a rectangle — a new panel part of that size appears. |
| "Stand" | A vertical partition: thickness comes from the material, stretches by height. |
| "Shelf" | A horizontal partition: thickness comes from the material, stretches by width. |
| "Cut" | Splits a part in two; hold Shift to cut across instead. |
| "Detail" | Opens a large view of the part — corner shape and fasteners; see the "Fasteners and drilling" article. |
| "Duplicate" / "Delete" | Copies or removes the selected part. |
| "?" | Reopens the short planar-mode tour. |
The separate button column to the right of the drawing has "+"/"−" for zoom and "Fit" to bring the whole drawing back into view and center it.
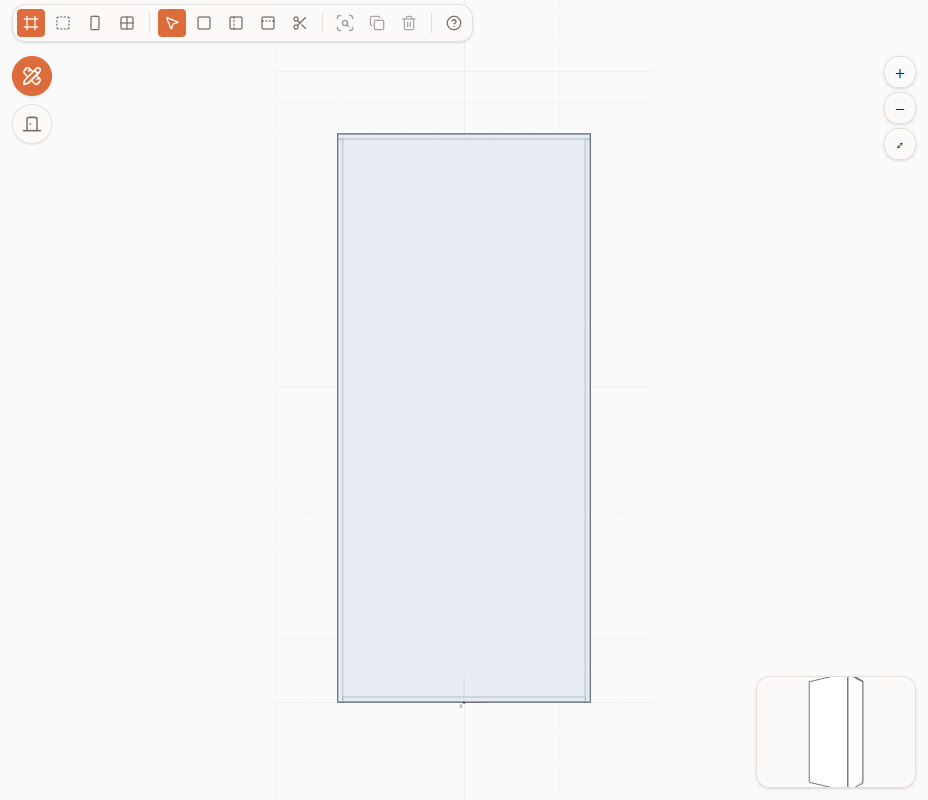
The cursor's coordinates in millimeters show at the bottom left, handy for precise drawing. The bottom-right corner has a live 3D preview, so you can immediately see how it looks in 3D.
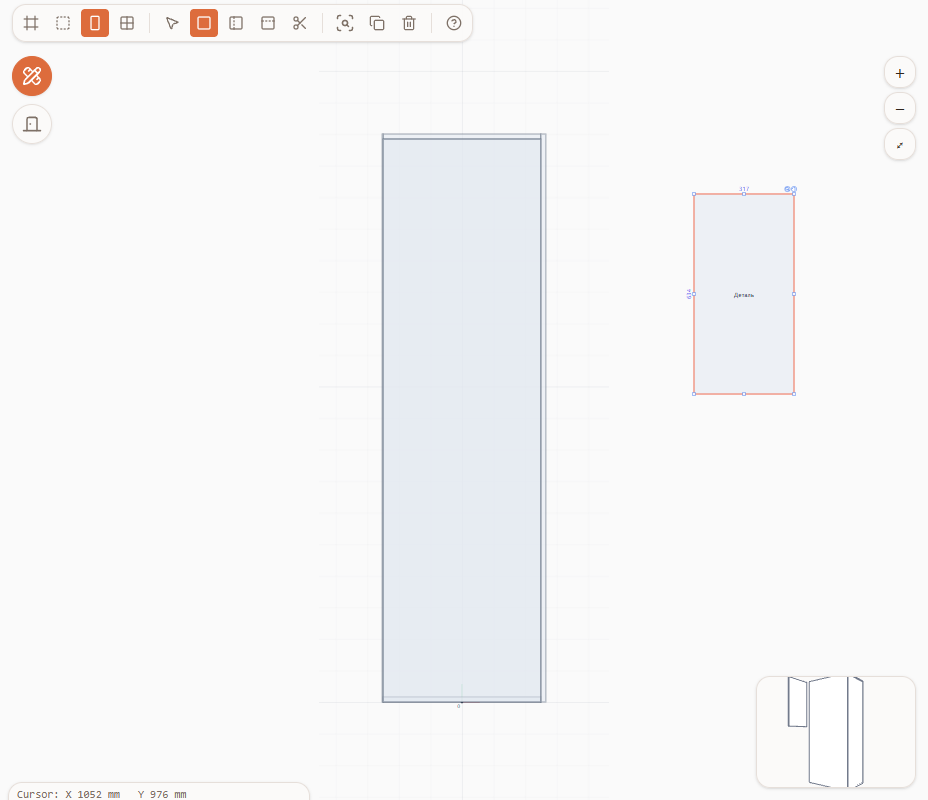
A part drawn in planar mode is a regular part — it has the same parameters, material, edge banding and fasteners as any other panel added from the "Library".
Possible errors
| What you see | Why it happens | How to fix it |
|---|---|---|
| A part moves instead of the camera orbiting | The drag started on the part itself, not on an empty part of the scene | Start orbiting from an empty spot on the floor or background, away from any part. |
| Clicking the drawing in planar mode doesn't draw anything | The "Select" tool is active, not "Draw part" | Click "Draw part" (or "Stand"/"Shelf") in the toolbar, then drag a rectangle. |
| The drawing seems to have "disappeared" — an empty area shows | The drawing's zoom or position drifted after zooming or switching views | Click "Fit" — the whole drawing snaps back into view. |
| A part can't be dragged through the floor | "Floor" mode is on — it limits vertical movement | This is expected behavior; turn "Floor" off if it's in your way for a specific task. |
Tips
- Transparency and outline mode don't require taking the assembly apart — you can see inside without removing a single part or losing the layout.
- Adding a part on the side is easier in planar mode — switch to the "Side" view and draw right there, instead of manually orbiting the scene.
- Turn on "Dimensions" instead of clicking every part when you need to check several sizes at once.
- "Fit" is the fastest way to bring the drawing back into view if it drifted out of frame while zooming.
Frequently asked questions
What's the difference between the X axis view in 3D and the "Side" view in planar mode?
The axis view in 3D just turns the same 3D camera to face that axis exactly, with no distortion to judge by eye. Planar mode is a separate drafting editor — there you can draw and edit parts right on the flat drawing, not just look at it.
How do I see inside a cabinet without removing its door?
Click "Hide facades" — the door disappears from view temporarily, without deleting anything from the project. Or turn on "Transparency"/"Outline mode" without touching the facade at all.
How do I quickly add a shelf in planar mode?
Pick the "Shelf" tool and drag a rectangle of the width you need — the thickness is filled in automatically from the material.
What does "Magnet" do?
It snaps parts to each other's faces within 50 mm and prevents them from overlapping while you move them.
How do I get back from planar mode to 3D?
Click the same button you used to switch to 2D — it now reads "Back to 3D".
Is a part drawn in 2D any different from a regular one?
No — it's the same kind of part as one added from the "Library": with material, edge banding, fasteners and all the same parameters.